Creating this Hall Bench reminded of Steve Jobs who when talking about Apple’s design process and his quest for simplicity, stated that ‘simple can be harder than complex’.
I am not for one minute comparing the design and creation of a Hall Bench to an iPhone but it is surprising that something which strives to have the look of elegance and simplicity, can be complex to make. With this hall bench over 40 different processes were involved…
Design Process
Unless I am making a commissioned piece, my furniture design is influenced by the size, shape and grain of the wood.
I had been pondering over and interesting piece of Scottish Elm in my wood stock for some time. The lumber was thick (over 60mm) and heavy (almost 20kg) but just 1.5m at its widest point. It was rough sawn on one side and planed on the other. I lacked the tools to plane and thickness a piece this size without first cutting it down to more manageable proportions. Chopping boards or legs for a future project were the obvious choices but I thought this slab was worthy of more…I liked the fact that it had an interesting shape and its cracks and hollows could be filled with resin. Indeed, a ‘chunky bench’ would allow me to retain all the features that had attracted me to this piece in the first place.
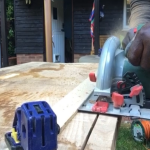
Cutting
I calculated that if I was careful and minimised waste, there would be enough wood from this one piece to make the entire bench. The wood was split in places but I could salvage these pieces using resin.
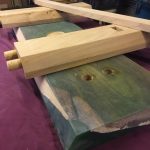
Using a circular saw and mitre saw I cut the seat and legs and used an orbital sander to flatten the bottom. I needed the seat to sit level on the workbench so I could form a mould around it to pour the resin. I did likewise for one of the legs which would also require resin to fill the splits and cracks.
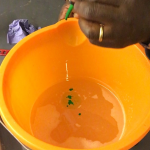
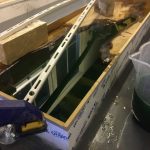
Resin Pouring
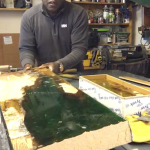
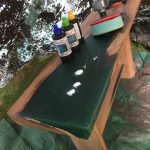
There is not enough space here to go into detail about resin pouring (I will write another blog on this later). However, a few highlights are described here. The moulds were constructed using laminate flooring board (which I find works better than melamine board), Tyvec tape and silicon sealer. Elichem’s deepcast epoxy resin and its emerald green acrylic pigment was used to create a striking looking bench that would combine the natural look of the elm contrasted by the livid green resin. I calculated 4 litres of resin would be needed to complete the job and it would be 3 days before demoulding would be possible.
Preparation for Assembly
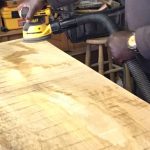
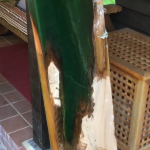
Once demoulded, each piece was cut, planed, ‘thicknessed’ and sanded. When I was happy with the finish the bench top and legs were cut to a 30 degree chamfer along each leading edge.
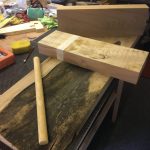
Next came the tricky bit. I needed to ensure that the legs attached to the seat in a way that would create a strong joint. Regular dowels would be too small and weak. A recessed joint would be awkward and possibly an unsatisfactory solution.
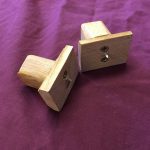
The ideal scenario would be to use a domino jointer but at £800 this is not a machine on my list of ‘must haves’ right now! My solution was to use a good quality broom handle cut down into 80mm dowels! To locate each dowel onto the seat I would need to create my own ‘jumbo’ centre points (see pic). I used a forstner bit to drill out the holes and, with careful drilling and minor adjustments, all the holes aligned – I was now ready to assemble the bench…
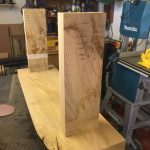
Assembly
Assembly was pretty straight forward. The most important consideration was to ensure the legs sat square on the seat and floor. I used Titebond III to glue the joints and left the assembly to cure for 24 hours.
Polishing the Resin and Waxing the Wood
Whenever resin is incorporated into my designs, I use two separate processes for finishing the piece, one process for the resin and another for the wood. The resin requires polishing – just as you would if using epoxy resin on a car or boat and wanted to achieve a gloss finish. I used an orbital polisher, buffer and various cutting agents and creams to achieve a quality finish. I’ve tried quite a number of products and find the 3M range to be best for what I want to achieve.
On the wooden surfaces I used Fiddes clear satin wax oil to achieve a ‘raw’ wood finish.
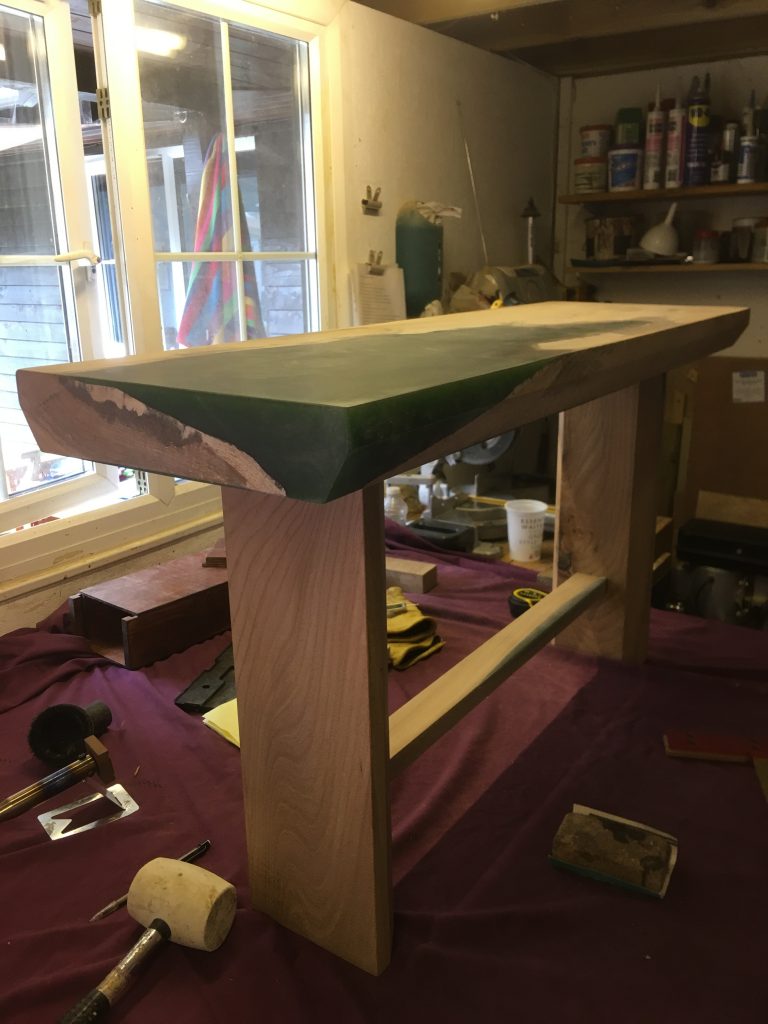
So, there it is. I was pleased with the outcome and the hall bench was fun to make. Looking at the top I am reminded of Florida’s Emerald Coast. Do you see agree…?
We use cookies to ensure that we give you the best experience on our website. If you continue to use this site we will assume that you are happy with it.OkPrivacy Policy