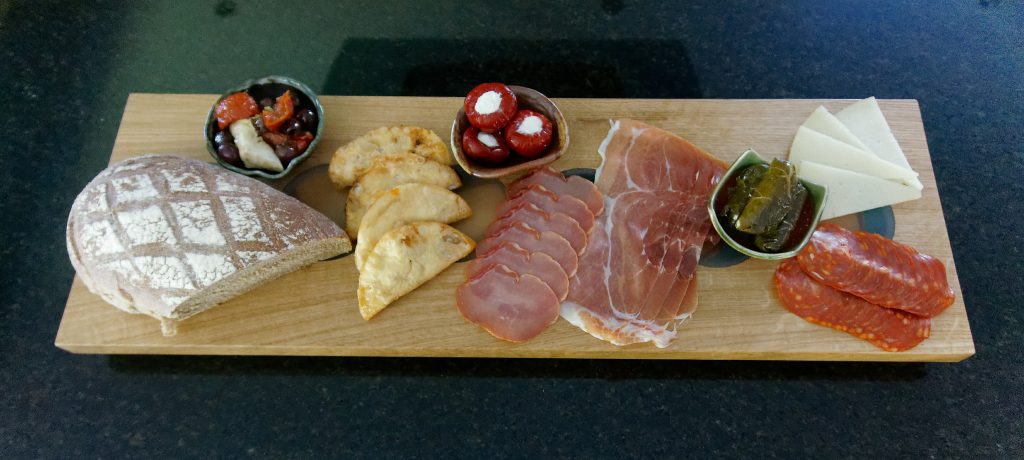
Making this Oak and resin Charcuterie Board was enjoyable but surprisingly fiddly! I had a couple of nice pieces of oak that had been lying around for a while and a disappointing result with some resin coasters gave me the idea for a charcuterie board. The most important piece of machinery I used for the project was a Pillar Drill.
Failed Coasters
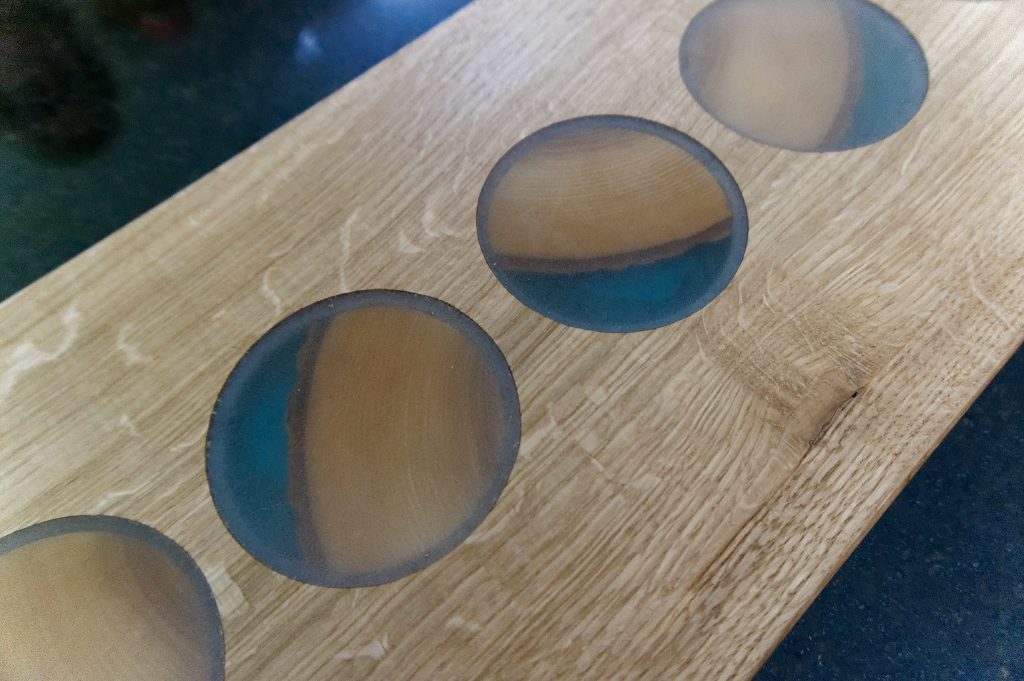
The failed coasters were a bit of an experiment which involved embedding a quarter log into a resin mould flooded with epoxy resin. The coasters were formed by slicing the cured resin block like a loaf of bread. Fast forward several months: I noticed that each of the coasters, that had started life square, had warped! A lesson for next time, I’ll ensure to use my moisture meter to check the wood is dry! Anyway, as the saying goes, ‘out of disaster comes opportunity!’…
Pillar Drill
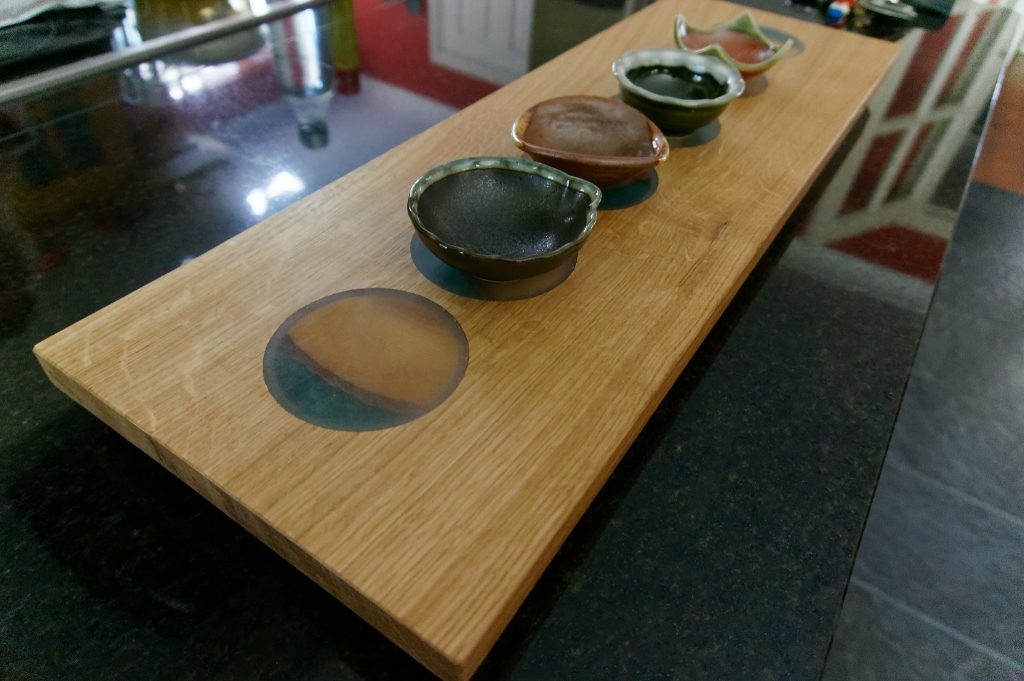
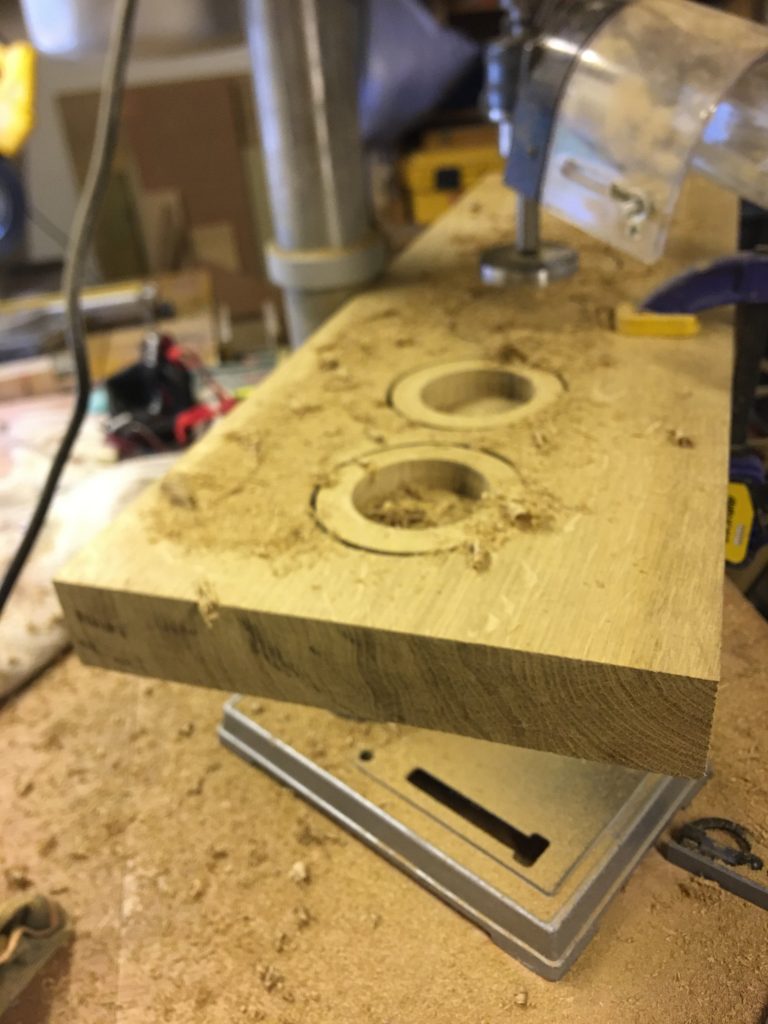
The defunct coasters were cut into circles using a large Holesaw mounted to a pillar drill (I made a jig to hold the coasters still). The same size Holesaw was used to cut six circles, equally spaced, on the oak board. I set the pillar drill to drill down to about half the depth of the oak board.
Next came the tricky bit. Using a large Forstner bit. Carefully, I drilled out the material inside each circle to leave six flat- bottomed holes deep enough for each coaster to sit recessed.
Epoxy Resin
Each coaster was held in place with quick curing epoxy resin before being flooded with a slower curing resin (which is food safe). Once the resin had cured, the board was passed through my planer thicknesser to smooth the both front and back surfaces. I wanted the board to remain thick so was careful to take shallow cuts each time the board passed through.
Finishing the Board
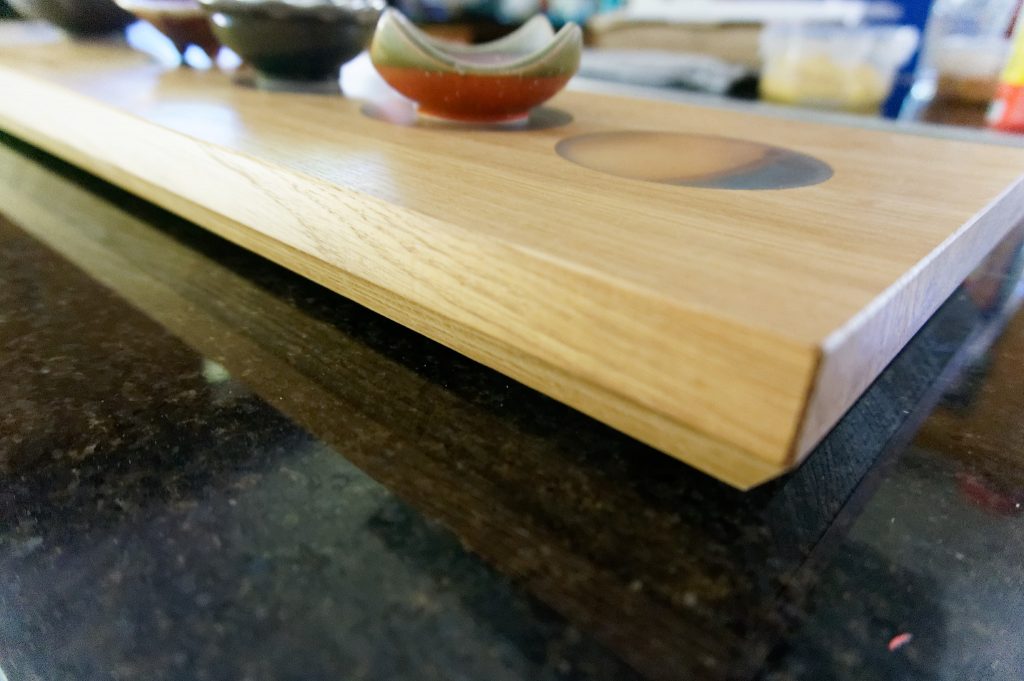
The edges of the board were finished using a router table and 30 degree bit. From bitter experience, routing edges requires patience as it is easy to tear out material and ruin the edges by trying to take too much material off too quickly!
The top surface of board was sanded using 180 down to 1500 grit. This may seem excessive but a better finish is achieved on the epoxy resin surfaces with a fine grit. Once sanded, I used plenty of Osmo’s food safe Clear Matt Top Oil. Once dry the board was buffed to a smooth matt finish.
So that’s it. Quite a fiddly project that required a bit of patience and a steady hand! But I was pretty pleased with the outcome…